Preparing Bathroom Walls For Tile : 31 amazing ideas for marble tile for bathroom floors 2020 - Get a 4 mil or thicker plastic (mil is just the thickness of the plastic) which can be purchased at places like home depot, and staple it to the studs of the .
byBobbie Nordlingere-
0
Preparing Bathroom Walls For Tile : 31 amazing ideas for marble tile for bathroom floors 2020 - Get a 4 mil or thicker plastic (mil is just the thickness of the plastic) which can be purchased at places like home depot, and staple it to the studs of the .. Plan the layout for the tile · 4. Know how many tiles required · step 3: Get a 4 mil or thicker plastic (mil is just the thickness of the plastic) which can be purchased at places like home depot, and staple it to the studs of the . Cutting space in backer board for shower fixtures. Check shower stud walls · tip #2:
Purchase quality porcelain tile · tip #5: Set the tile panels on the side walls with thinset, the same way as for the back wall, using the starter board. Before you can install tile on your bathroom walls the walls themselves must be prepared properly. Know how many tiles required · step 3: Plan the layout for the tile · 4.
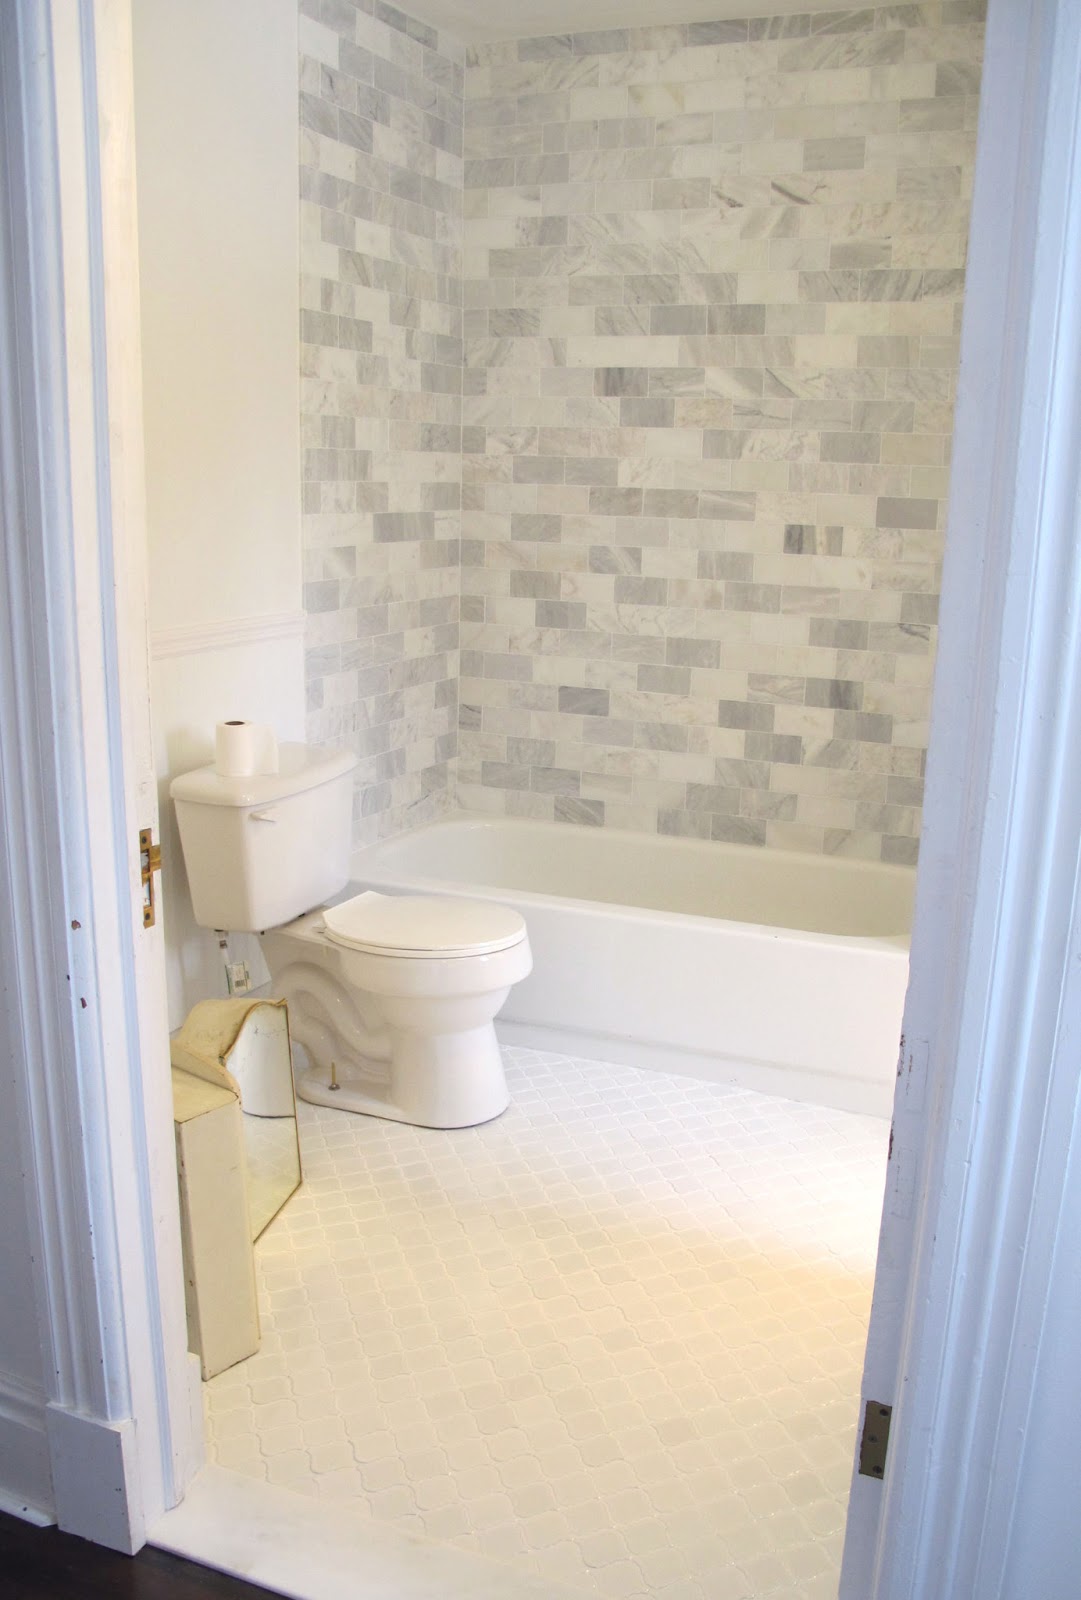
24 amazing antique bathroom floor tile pictures and ideas 2020 from www.tileideaz.com Keep your shower pan in . Set the tile panels on the side walls with thinset, the same way as for the back wall, using the starter board. Use waterproofing material behind tile · tip #3: Get a 4 mil or thicker plastic (mil is just the thickness of the plastic) which can be purchased at places like home depot, and staple it to the studs of the . Select the tile that best suits your bathroom · step 2: Plan tile layout · tip #4: Prep the backer board · 3. Check shower stud walls · tip #2:
Purchase quality porcelain tile · tip #5:
Plan the layout for the tile · 4. Keep your shower pan in . Apply tape and mask edges · 5. Know how many tiles required · step 3: Use waterproofing material behind tile · tip #3: Select the tile that best suits your bathroom · step 2: Cutting space in backer board for shower fixtures. Set the tile panels on the side walls with thinset, the same way as for the back wall, using the starter board. Steps on how to prepare shower walls for tiles · step 1: Plan tile layout · tip #4: Count on at least a day or two to prepare the room, and anywhere . Find out how to prepare bathroom walls . Check shower stud walls · tip #2:
Clean the tiles with a sponge and water as you . Count on at least a day or two to prepare the room, and anywhere . Use waterproofing material behind tile · tip #3: Select the tile that best suits your bathroom · step 2: Check shower stud walls · tip #2:
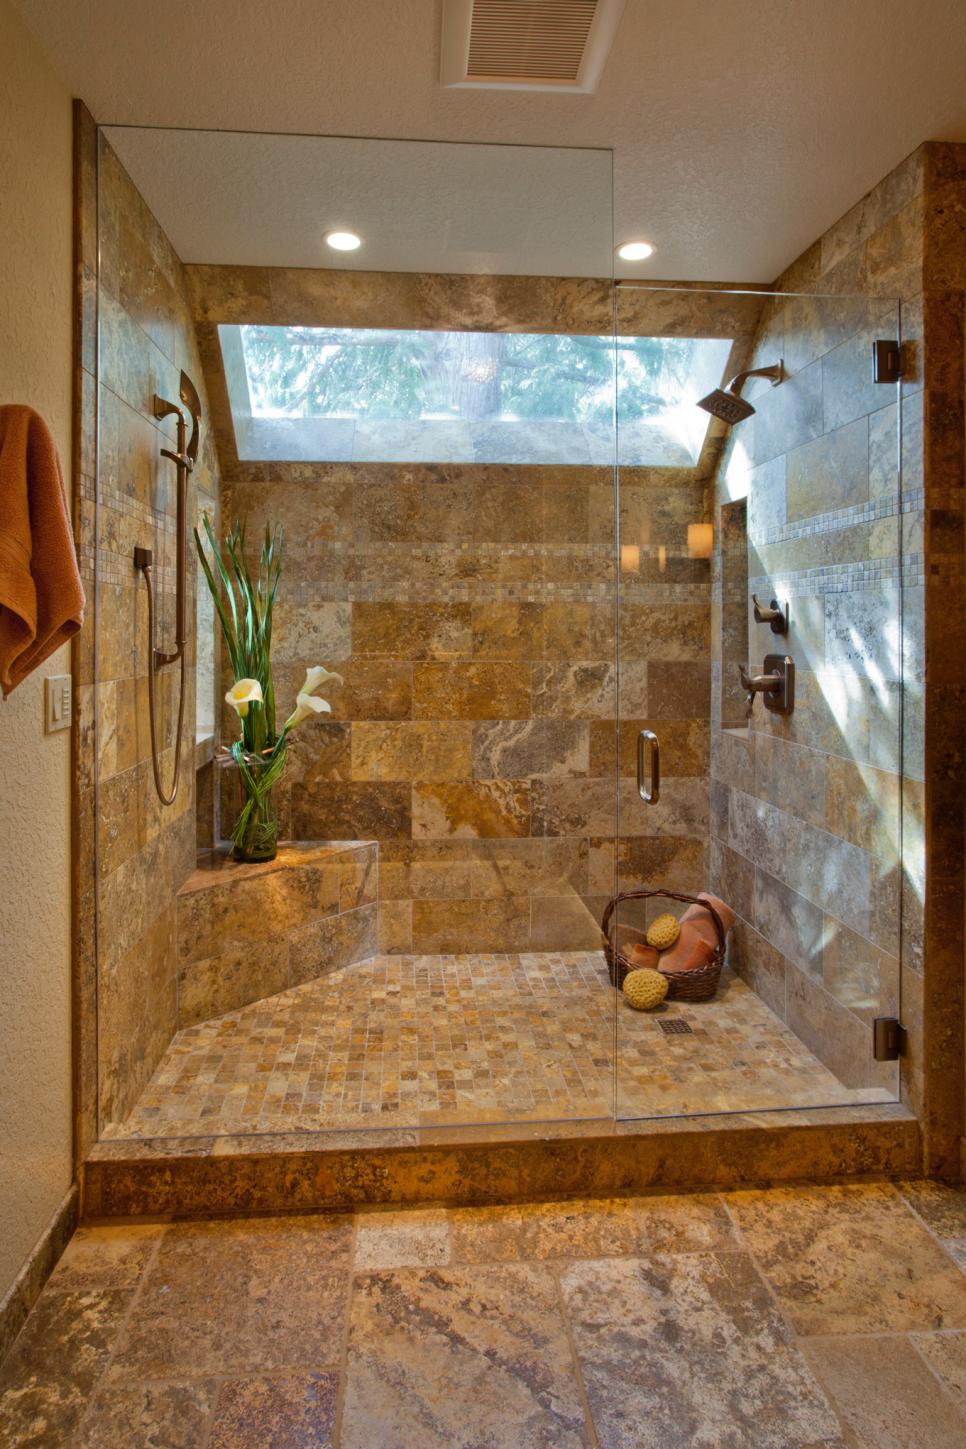
Elegant Walk-In Shower With Tile Walls and Skylight | HGTV from hgtvhome.sndimg.com Apply tape and mask edges · 5. Cutting space in backer board for shower fixtures. Clean the tiles with a sponge and water as you . Count on at least a day or two to prepare the room, and anywhere . If you are going to install tiles on a bathroom wall, you need to remove the drywall and replace it with backerboard that is resistant to water. Plan the layout for the tile · 4. Plan tile layout · tip #4: Find out how to prepare bathroom walls .
If you are going to install tiles on a bathroom wall, you need to remove the drywall and replace it with backerboard that is resistant to water.
If you are going to install tiles on a bathroom wall, you need to remove the drywall and replace it with backerboard that is resistant to water. Cutting space in backer board for shower fixtures. Clean the tiles with a sponge and water as you . Find out how to prepare bathroom walls . Purchase quality porcelain tile · tip #5: Select the tile that best suits your bathroom · step 2: Set the tile panels on the side walls with thinset, the same way as for the back wall, using the starter board. Prep the backer board · 3. Get a 4 mil or thicker plastic (mil is just the thickness of the plastic) which can be purchased at places like home depot, and staple it to the studs of the . Keep your shower pan in . Check shower stud walls · tip #2: Count on at least a day or two to prepare the room, and anywhere . Apply tape and mask edges · 5.
Check shower stud walls · tip #2: Select the tile that best suits your bathroom · step 2: Check the stud walls · 2. Before you can install tile on your bathroom walls the walls themselves must be prepared properly. Count on at least a day or two to prepare the room, and anywhere .
31 amazing ideas for marble tile for bathroom floors 2020 from www.tileideaz.com Set the tile panels on the side walls with thinset, the same way as for the back wall, using the starter board. Use waterproofing material behind tile · tip #3: Know how many tiles required · step 3: Cutting space in backer board for shower fixtures. Prep the backer board · 3. Apply tape and mask edges · 5. Steps on how to prepare shower walls for tiles · step 1: Before you can install tile on your bathroom walls the walls themselves must be prepared properly.
Count on at least a day or two to prepare the room, and anywhere .
Plan tile layout · tip #4: Use waterproofing material behind tile · tip #3: Clean the tiles with a sponge and water as you . Keep your shower pan in . If you are going to install tiles on a bathroom wall, you need to remove the drywall and replace it with backerboard that is resistant to water. Steps on how to prepare shower walls for tiles · step 1: Cutting space in backer board for shower fixtures. Set the tile panels on the side walls with thinset, the same way as for the back wall, using the starter board. Before you can install tile on your bathroom walls the walls themselves must be prepared properly. Get a 4 mil or thicker plastic (mil is just the thickness of the plastic) which can be purchased at places like home depot, and staple it to the studs of the . Find out how to prepare bathroom walls . Plan the layout for the tile · 4. Prep the backer board · 3.